
Introduction
As a reseller administrator, you will have responsibility for:
- Managing your own reseller company in the Zentitle UI.
- Managing the user accounts for this reseller company.
- If your company is not a sub-reseller, creating and managing sub-reseller companies.
You and your reseller users are also responsible for the sale and distribution of license codes that have been allocated to you by your ISV. You can find out how to do this here:
You can also create support users with read-only access to licensing data but who are also able to assist with offline activation of licenses:
Getting started
To get started please ensure you have your own credentials to hand that were provided to you by your ISV or if you are a sub-reseller, your parent reseller.
Login to my.nalpeiron.com
Administrative Functions
On successfully logging in, you will see a dashboard with the following appearance:
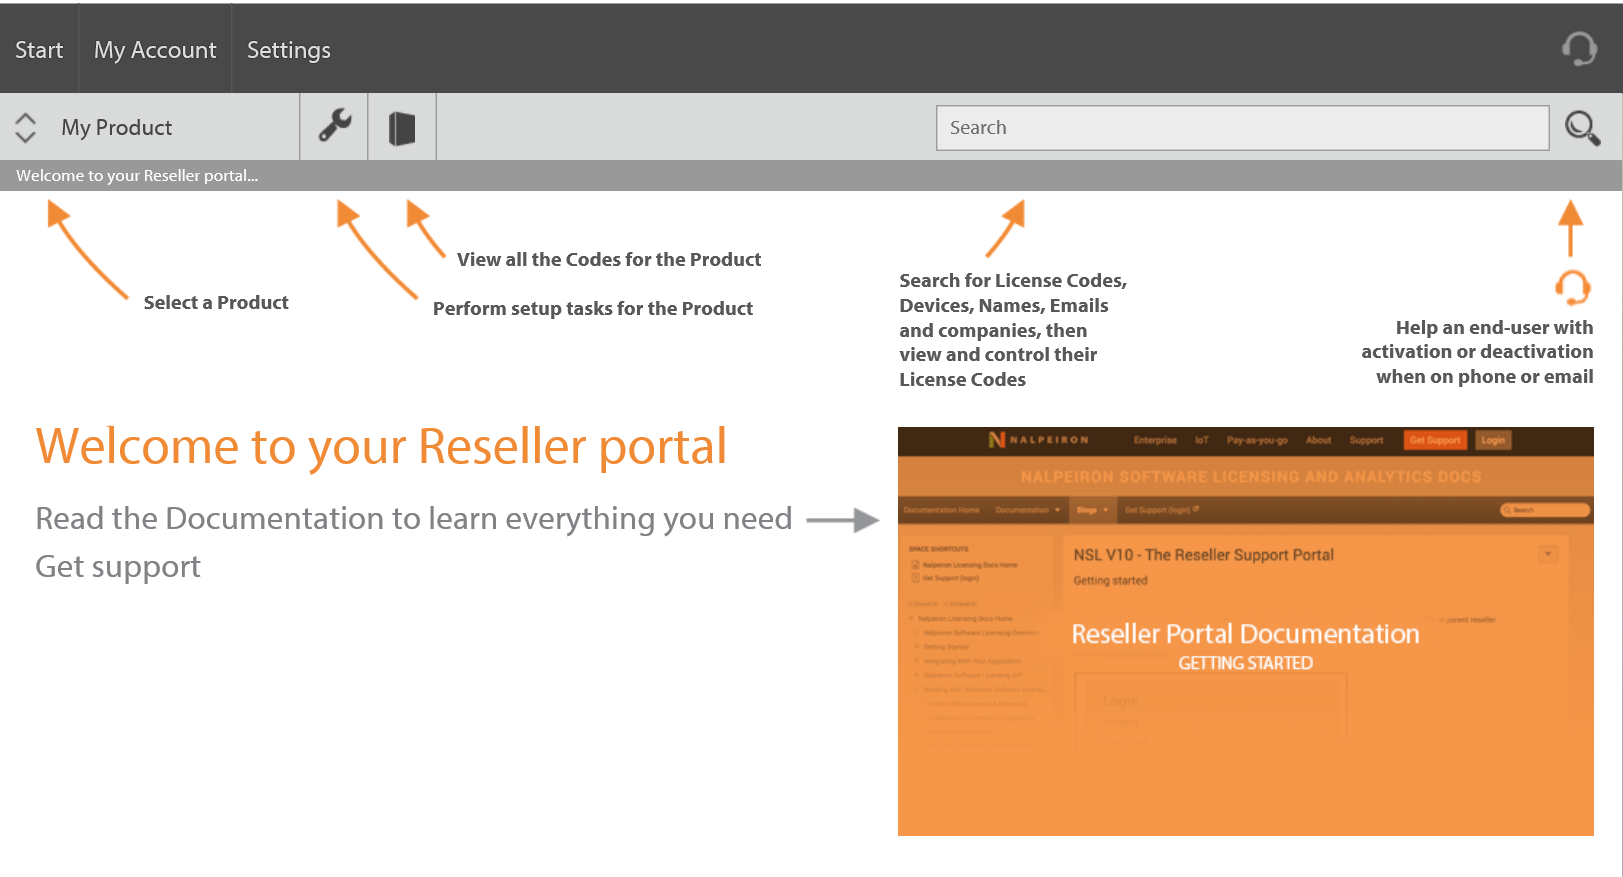
The Start button will always take you back to this page.
Your Account
The My Account button will show the following menu:
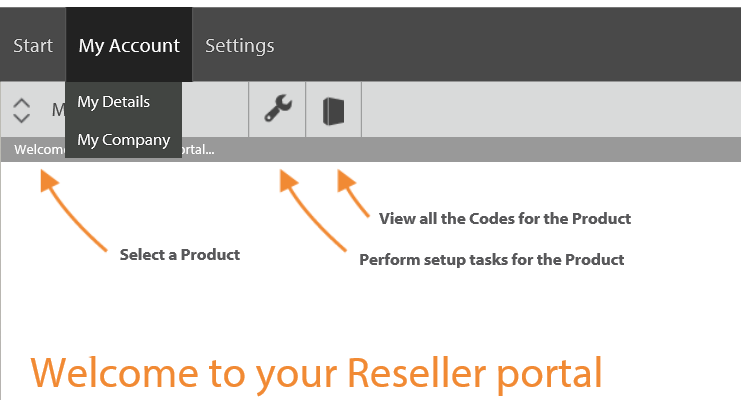
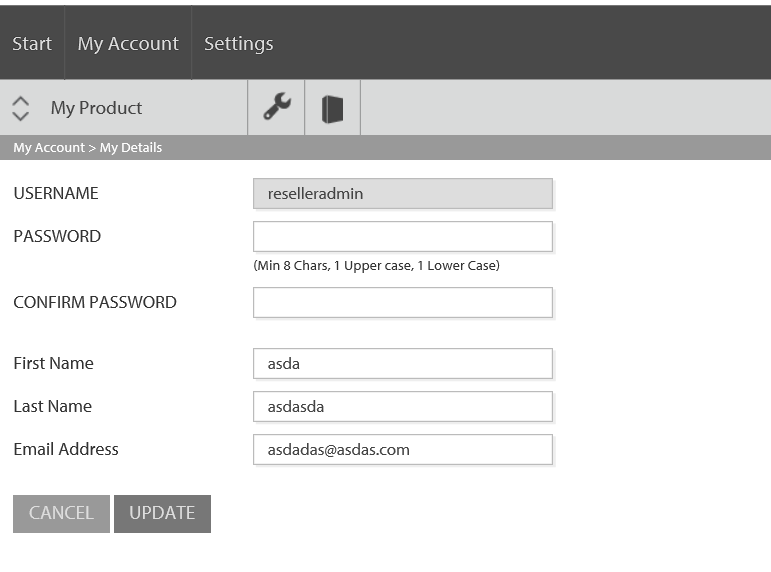
'My Details' gives your user details. Clicking this item will take you to the My Details page, where you can edit your own user account details, as shown below.
'My Company' gives your company details.
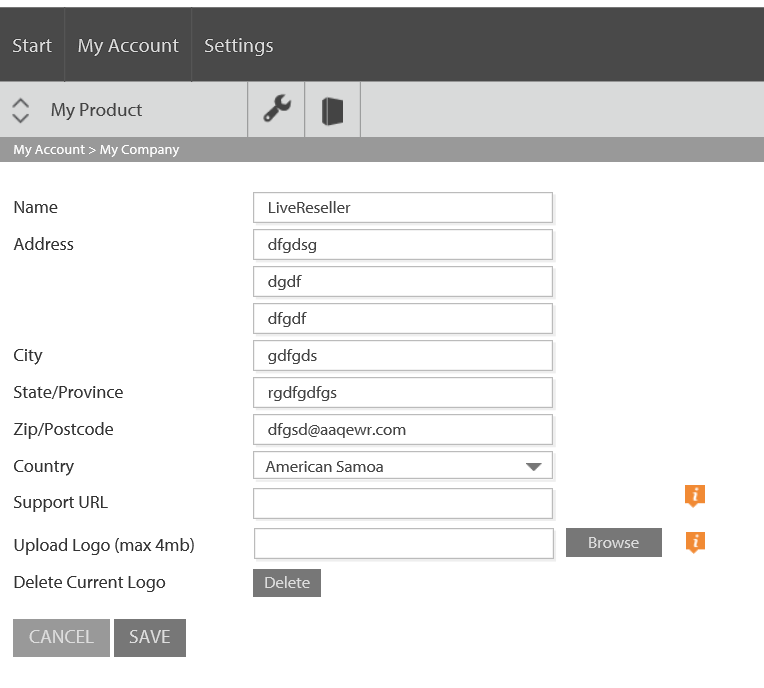
You are asked to provide standard information about your reseller (name, address, country) in addition to the following:
- Support URL: This is the URL of a support page provided for you by your ISV. The link to this will appear on your landing page.
- Upload Logo: You can upload a logo for your reseller organization here which will replace the default 'nsl licensing' logo which appears at the top left corner of each page. The maximum size of this logo is 4MB. The dimensions of the logo should be 300x80, otherwise, it will be rescaled to fit.
There is also a Delete logo button, which will delete the stored logo file and replace it with the default Zentitle logo on each page in the reseller portal.
Settings
The 'Settings' menu consists of the 'Users' and 'Resellers' items. These enable you to see and manage users belonging to your own reseller organization, and also to create and manage further resellers ('Sub-Resellers') and associated users.
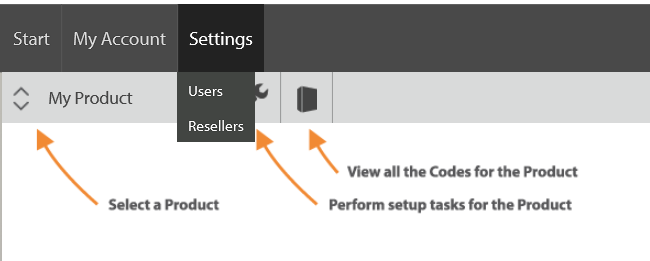
Reseller User Management
By clicking on 'Users' you will see a list of users who belong to either your own reseller organization or to a sub-reseller you have created. You can learn more about the creation of sub resellers below.
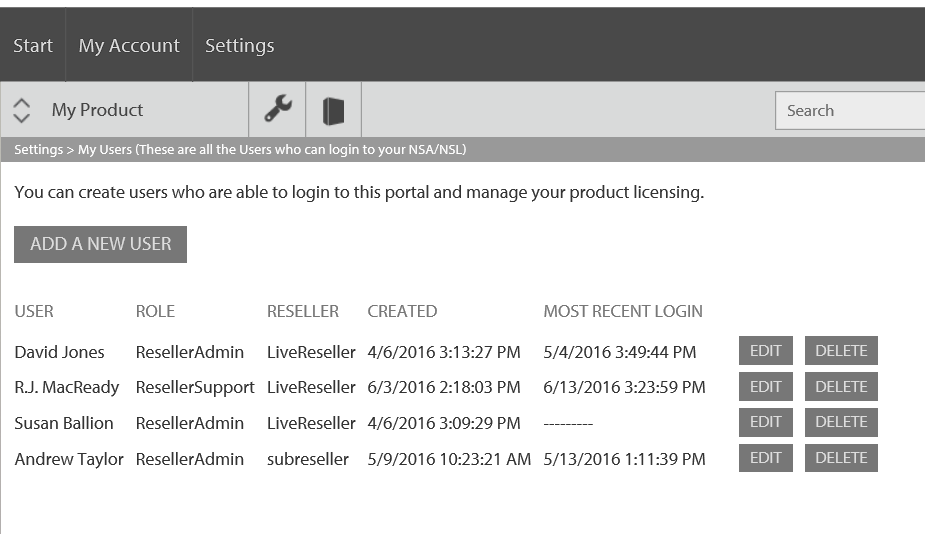
Notice that your own user account is not shown in this list. This is to prevent the accidental alteration of your credentials which could affect your access to your account. You can edit your own details on the My Details page as described above.
If you click the 'Edit' button for an existing user or click the 'Add a new User' button, you will be taken to the 'Add/Edit' user page:
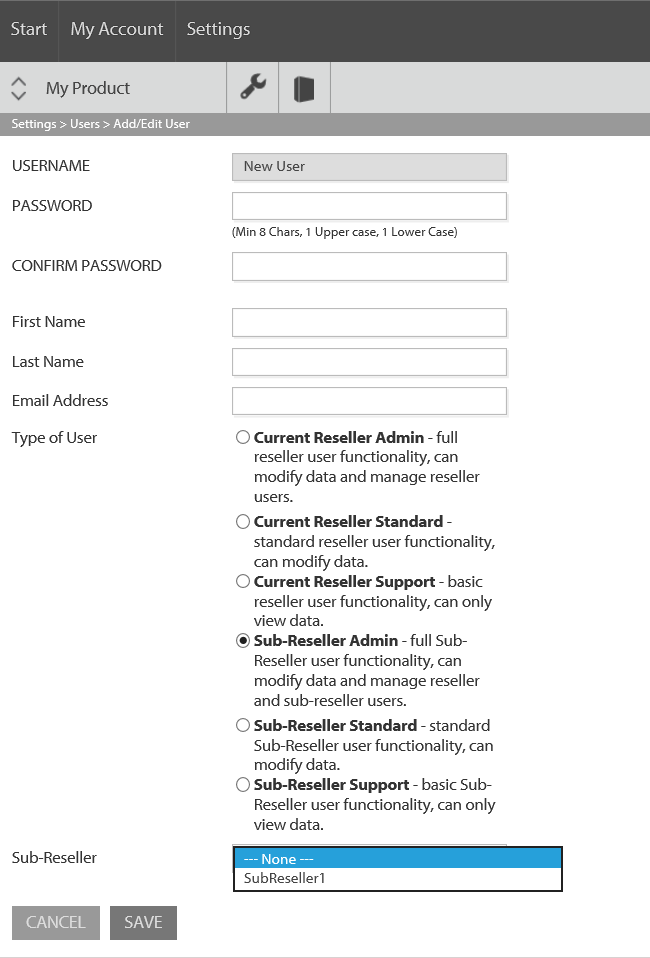
Here you can set standard fields for a new or existing user. You can also specify what type of user they are. The current reseller is the reseller organization to which the currently logged user belongs.
The sub reseller group and the dropdown menu will only appear if sub resellers have been defined (see below.) In particular, a sub-reseller, being unable to define further sub-resellers, will not see these items.
Creating and Managing Subresellers
Click Settings on the navigation bar and select 'Resellers'.
Creating a Reseller
Click the 'Resellers' item on the drop-down menu. Initially, this page will be empty. To create a reseller, click the 'Add A New Reseller' button.
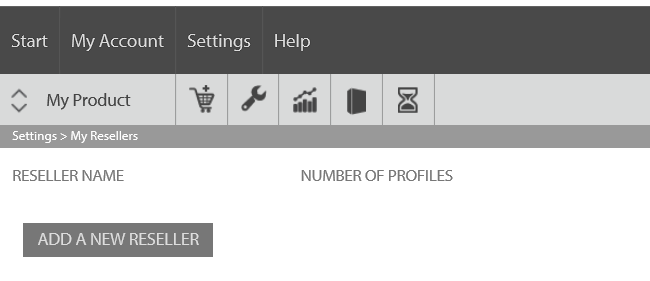
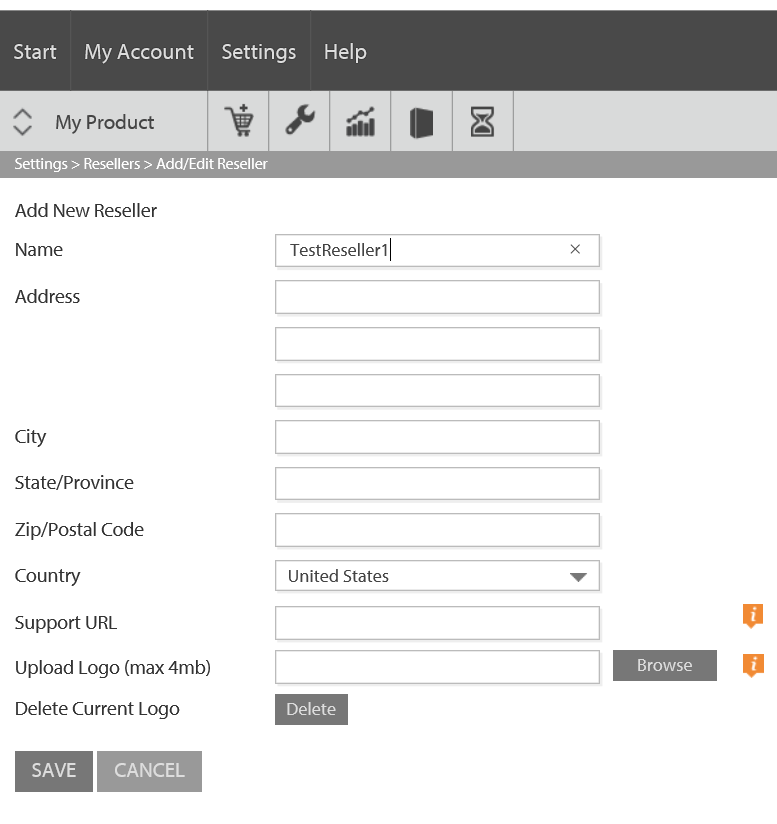
This will take you to the 'Add/Edit Reseller' page. Please fill in the fields as shown below to identify the reseller.
That is, a profile must be assigned to the sub-reseller before creating/assigning users and the first user must be a sub-reseller admin.
You are asked to provide standard information about your reseller (name, address, country) in addition to the following:
- Support URL: This is the URL of a support page you will provide for your reseller. The link to this will appear on their landing page - see below
- Upload Logo: You can upload a logo for your reseller which will replace the default 'nsl licensing' logo which appears at the top left corner of each page. The maximum size of this logo is 4MB. The dimensions of the logo should be 300x80, otherwise, it will be rescaled to fit.
There is also a Delete logo button, which will delete the stored logo file and replace it with the default Zentitle logo on each page in the reseller portal.
Once you have provided the requested information about your reseller, click the Save button to create this reseller. You will then be taken back to the Resellers page where your newly-created reseller has been added to the list.
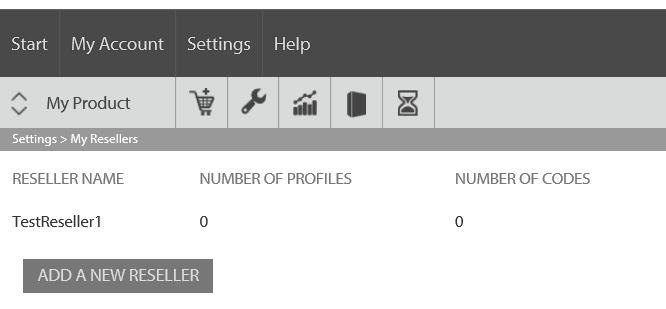
For each reseller in the list, the following information is shown:
- Reseller Name
- The number of profiles - this is the number of license code profiles that have been assigned to the reseller. More details are given below.
- The number of codes - this is the total number of license codes in all of the profiles that have been assigned to the reseller.
- Created - this is the date on which the reseller was created.
Also, for each reseller, there are 'Edit' and 'Delete' buttons. The edit button will take you back to the 'Add/Edit Reseller' where you can amend their details. The 'Delete' button deletes the reseller.
Upon deletion of a reseller the following operations are carried out on the profiles and users associated with that reseller:
- All license code profiles associated with the reseller are also deleted. All license codes in these profiles are re-assigned to the default profile.
- All 'reseller' users become standard 'ISV level' users. It the ISV admin's responsibility to determine if these users should subsequently be deleted and to carry out this task accordingly.
Assigning Profiles to a Subreseller
The method by which license codes become associated with a reseller is that they must belong to a license code profile which has been assigned to that reseller. You can create a license code profile which is assigned to a reseller simply by selecting the reseller when editing or creating a profile. (Please become familiar with the concept and use of license code profiles before proceeding.)
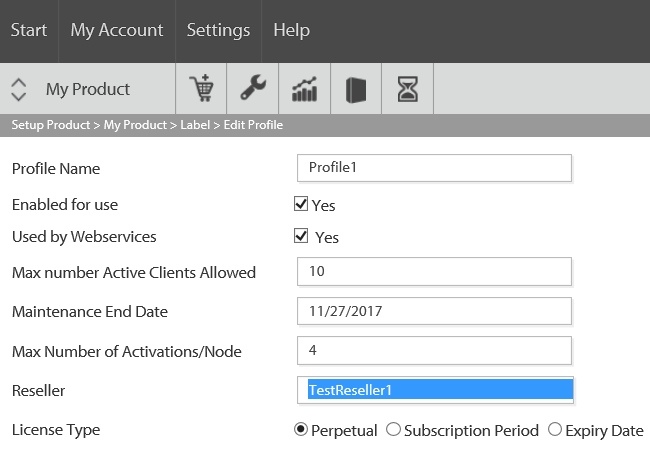
Select, with the 'Reseller' drop-down, the reseller to which you wish to assign this profile. This can be your own reseller organization or a sub reseller you have defined.
Note that there is no limit to the number of profiles that can be assigned to a given reseller. You can assign as many as you like from any of your Zentitle products. A given profile can, however, only be assigned to one reseller.
Creating Subreseller Users
The next step is to create users for your sub reseller. This is done in exactly the same way as you created users for your own reseller organization, although the following two points should be borne in mind:
- A profile must be assigned to the sub-reseller before creating/assigning users
- For a sub-reseller, you must create a reseller admin user before creating a standard or support sub reseller user.
To create a sub-reseller user, proceed as described above by going to My Settings->Users page and clicking the Add a New User button. There you will be able to create a new user and specify the sub reseller to which they belong using the sub resellers dropdown. On the user's page, you can also click the Edit button for an existing user and, on the Add/Edit user page, associate them with a new sub reseller organization.
Saving the user will then take you back to the Users page where you will be able to see your newly-created user.