Getting Started
To get started please ensure you have your own credentials to hand that were provided to you by your ISV.
Login to my.nalpeiron.com
The Zentitle Dashboard
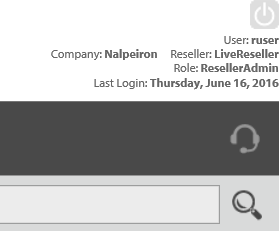
On successfully logging in, you will see a dashboard with the following appearance
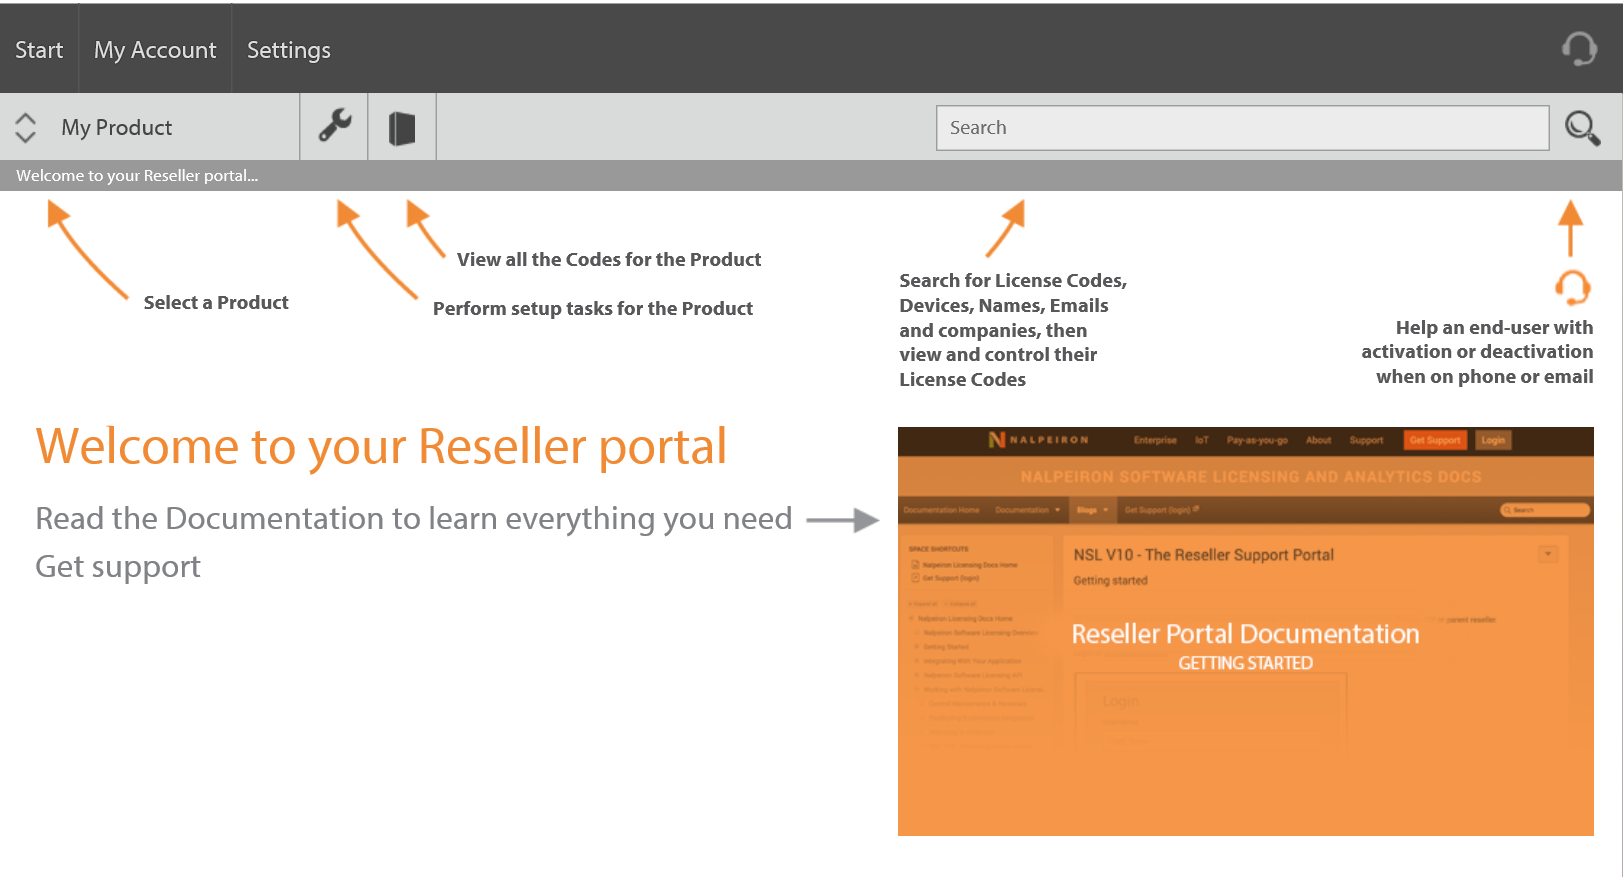
On the gray toolbar, you will see, at the far left, a product dropdown. This contains a list of the products that have been assigned to your reseller organization. All information, including license code information and search results, will be filtered by the product you select on this dropdown.
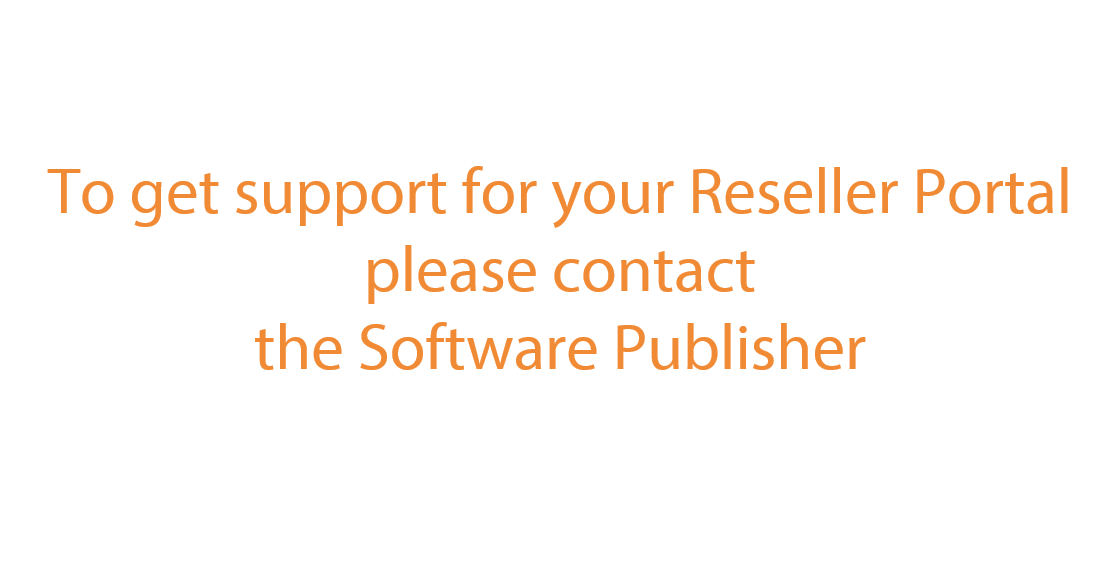
If no Support URL has been provided, on clicking the GetSupport link you will see a page consisting of the following message:
Reseller License Management
The product toolbar Configuration menu, accessed via the 'wrench' icon, has four items: 'Move Codes', Profiles', 'Companies' and 'Export'.
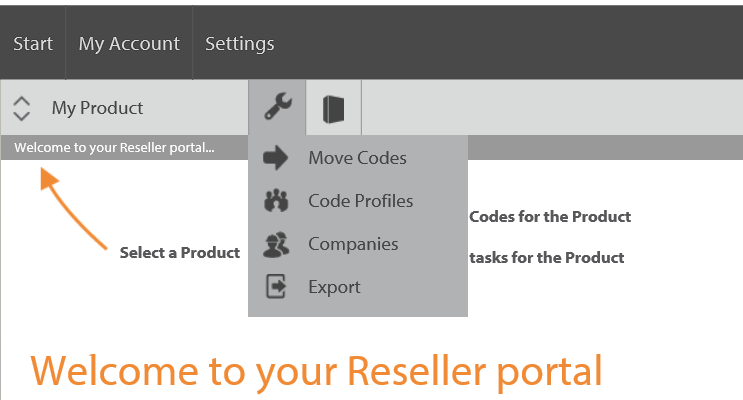
Move Codes
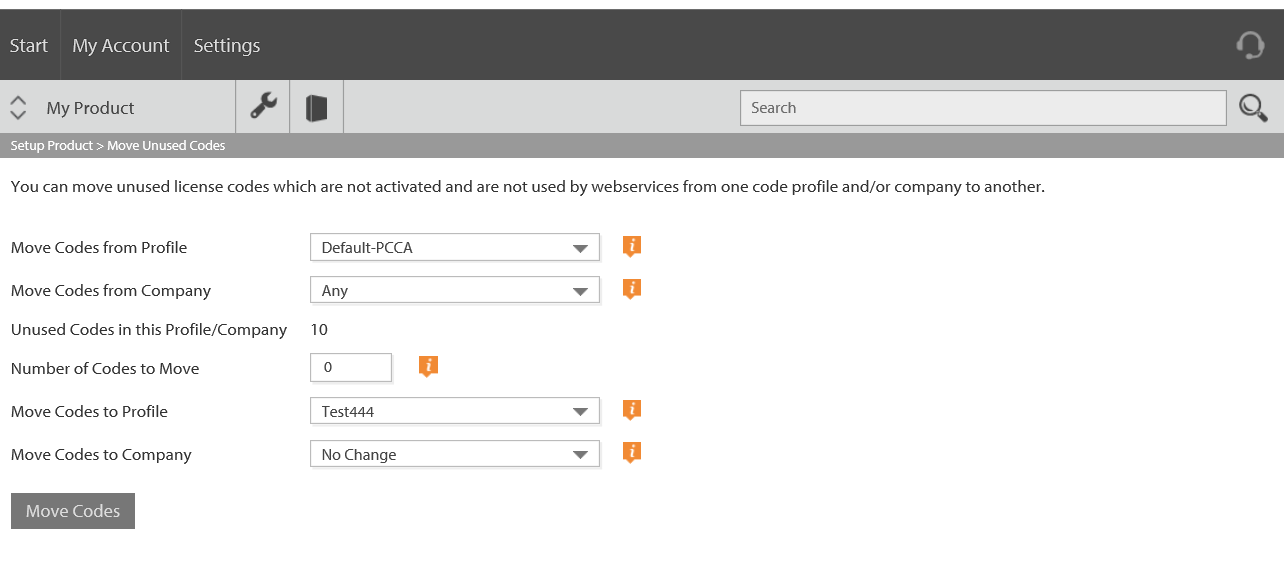
On the Move Codes page, shown below, a reseller can move unused codes (i.e. codes which have not been activated and which are not used by web services) from one profile to another. They simply select the source and target profiles and enter the number of codes they wish to move. Both source and target profiles must be profiles that were assigned to or created by the reseller.
License Code Profiles
License code profiles are central to the creation and management of resellers. It is through profiles that the ISV provides license codes to their resellers (which they can then provide to sub resellers in the same way) for sale and distribution. This is accomplished by simply assigning a profile to a reseller. Then the reseller has access to the license codes within that profile. Also, all of their search and export results will pertain only to profiles that have been assigned to them.
The license code profiles page, for the ISV and for resellers, has a 'View Profiles by Reseller(s)' drop-down menu enabling you to only show profiles as follows:
- 'All' - shows all license code profiles at this level in the hierarchy and below.
- 'Just Mine' - shows only profiles for the organization (ISV or reseller) to which the current user belongs.
- Reseller names - choose to only show those profiles from a selected reseller.
On clicking 'Edit' next to an existing profile or 'Create a new Profile', the 'Add/Edit Profile' page will be displayed.
Companies
For ease of license code management, resellers can have their license codes associated with companies (customers.) There are two ways in which this can be done:
- The ISV can assign codes to a profile associated with the reseller and can also select a specific company when allocating codes.
- The reseller can themselves choose a company when editing a particular license code. See License Code Management below.
Unless the reseller has been allocated codes associated with a specific company, the first time they click on the Companies item, they will see the empty list shown below.

On clicking the 'Add a new Company' button, they will be taken to the 'Add/Edit Company' page when they can fill in the company details.
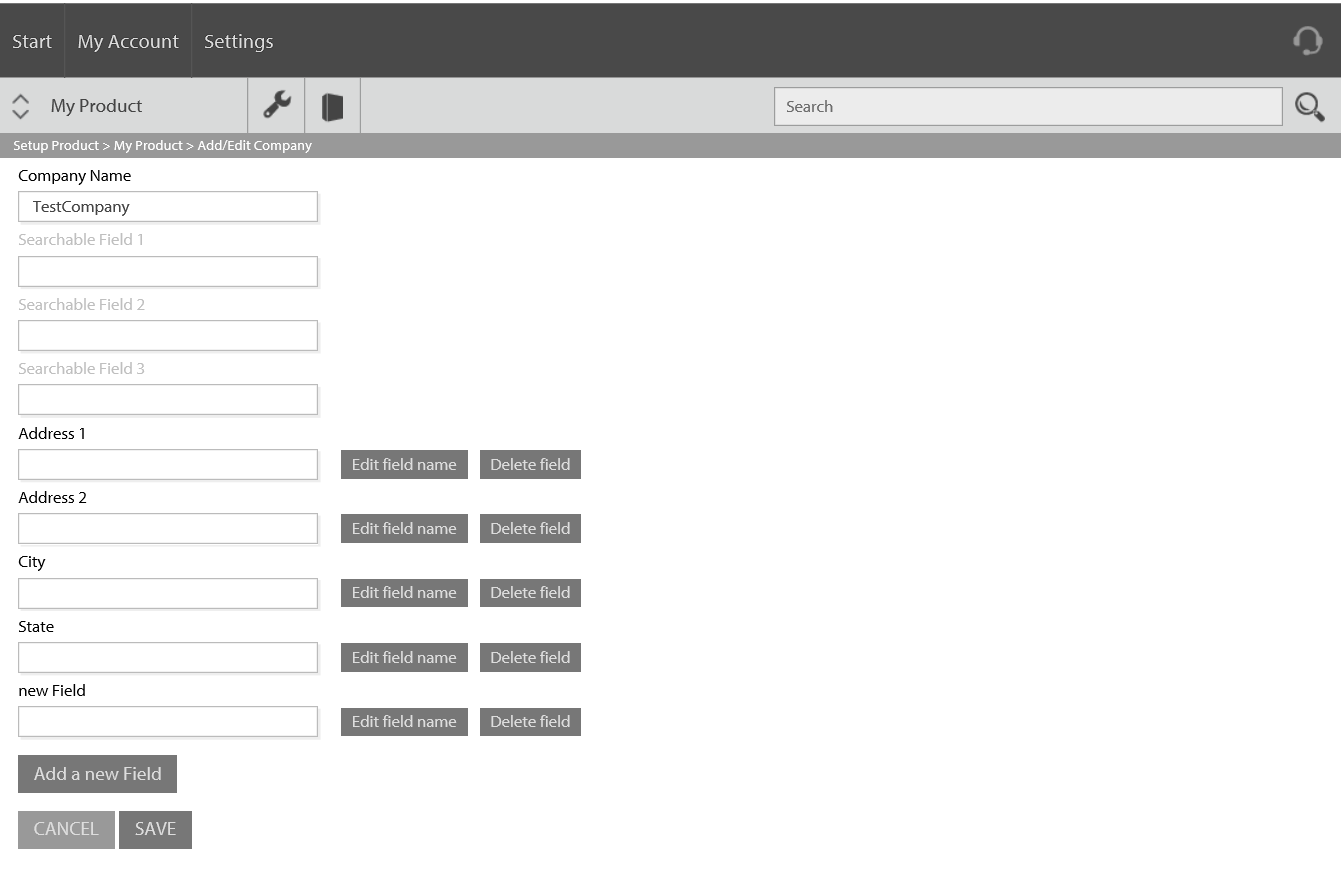
On clicking 'Save', they will be taken back to the Companies page which will show their newly defined company. The 'Edit', 'Delete' and 'View Codes' button appears for each company in the company list, allowing the reseller to edit the company (taking them back to the 'Add/Edit Company' page for that Company), delete it or view the license codes that are associated with that company.
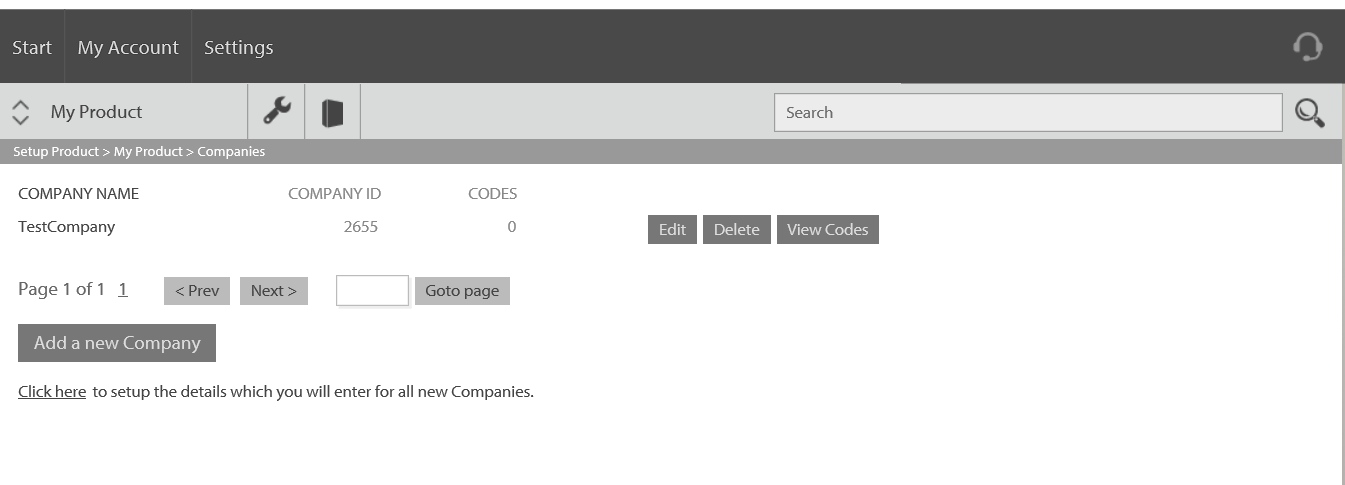
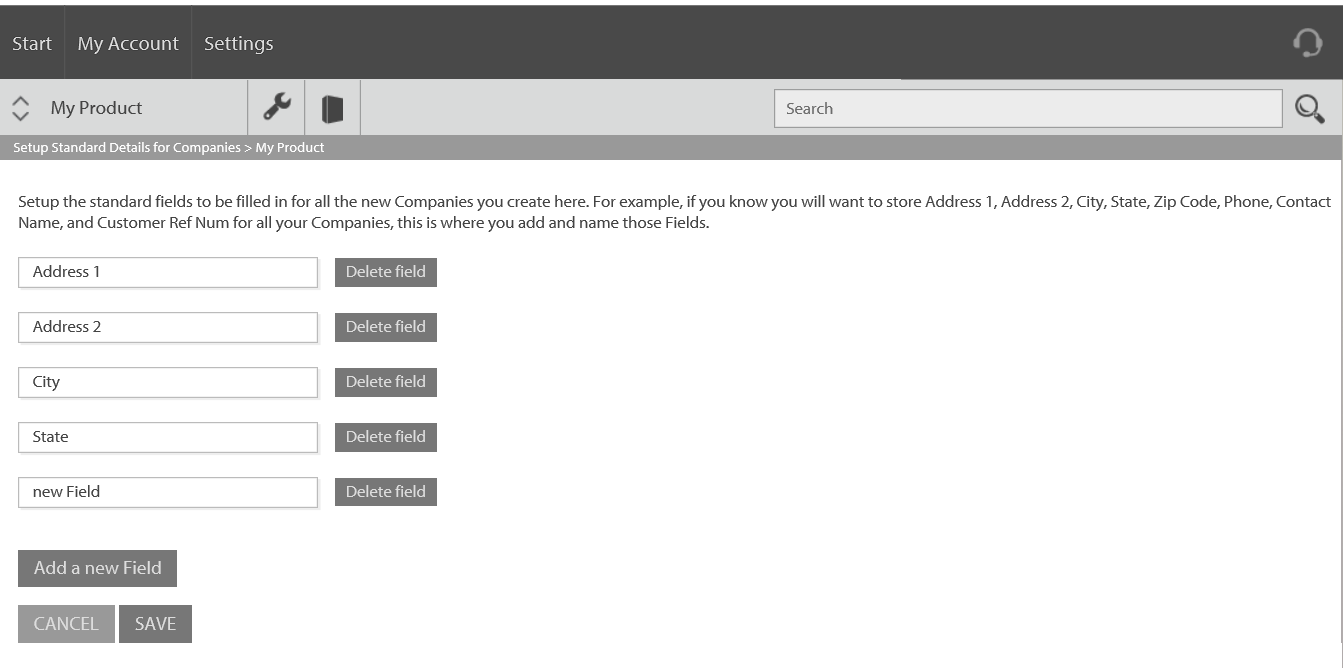
Below the 'Add a new Company' button is a link that will take them to the Setup Companies page, shown below. Here they can specify a template, consisting of data fields, for all companies they subsequently define.
Export
The NSL Export functionality enables the downloading of historical licensing data in multiple formats. Clicking the 'Export' button will take the reseller user to the Export page.
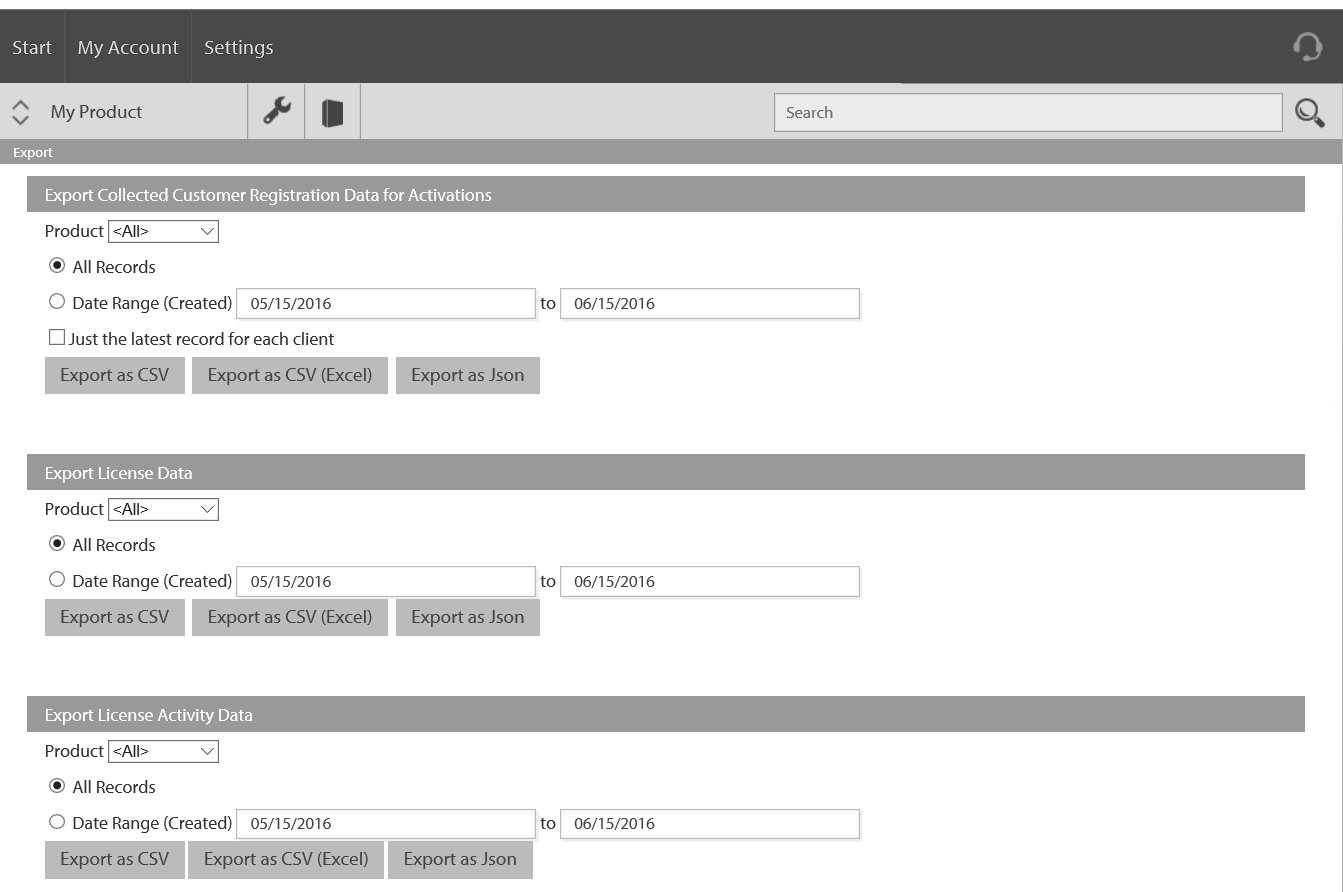
For each export category, the reseller user can tailor the following settings to their requirements:
- Product. From the product dropdown, they can choose to export data from all of their products or from any particular product.
- All Records/Date Range. If they check the 'All Records' button, the entire history of records in the selected category for the chosen product(s) will be exported. If, instead, they check 'Date Range', then only data created between the dates specified in the neighboring textboxes will be exported.
- Latest record only. If they check the 'Just the latest record for each client' box (consumer registration data exports), then only the latest record for each client machine will be exported, subject to it being within the date range specified.
Export Format
When you have chosen an export category and set the above options to those required, you can begin the export process by clicking the grey button that will generate the export in one of three formats. These are:
- CSV
- CSV (Excel)
- Json
Export Preparation
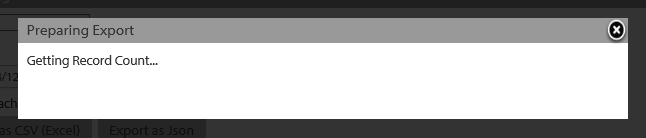
The preparation of your export will begin when you have clicked the button for your chosen format. You will see a message informing you that the records to be exported are being counted:
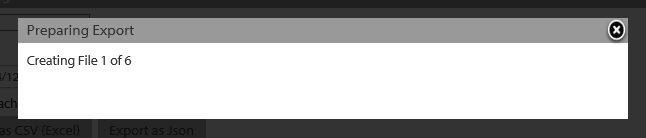
For large exports, the data is split among multiple files, with each containing at most 100000 records. As such, your export may contain many files. The next message shows you which file is currently being prepared.
When all files have been prepared, they are added to a zip archive.
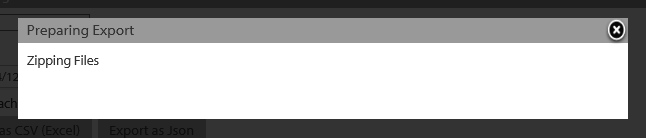
When this zip archive has been prepared, it can be downloaded through your browser.

The names of the archive and individual export files will contain information about the data exported. The format of these filenames is as follows:
<ExportCategory>_<CompanyID>_<StartDateTime>_<EndDateTime>
License Code Management
The license codes icon (the software box icon on the light gray toolbar) will take the reseller user to the 'Manage Codes' page.
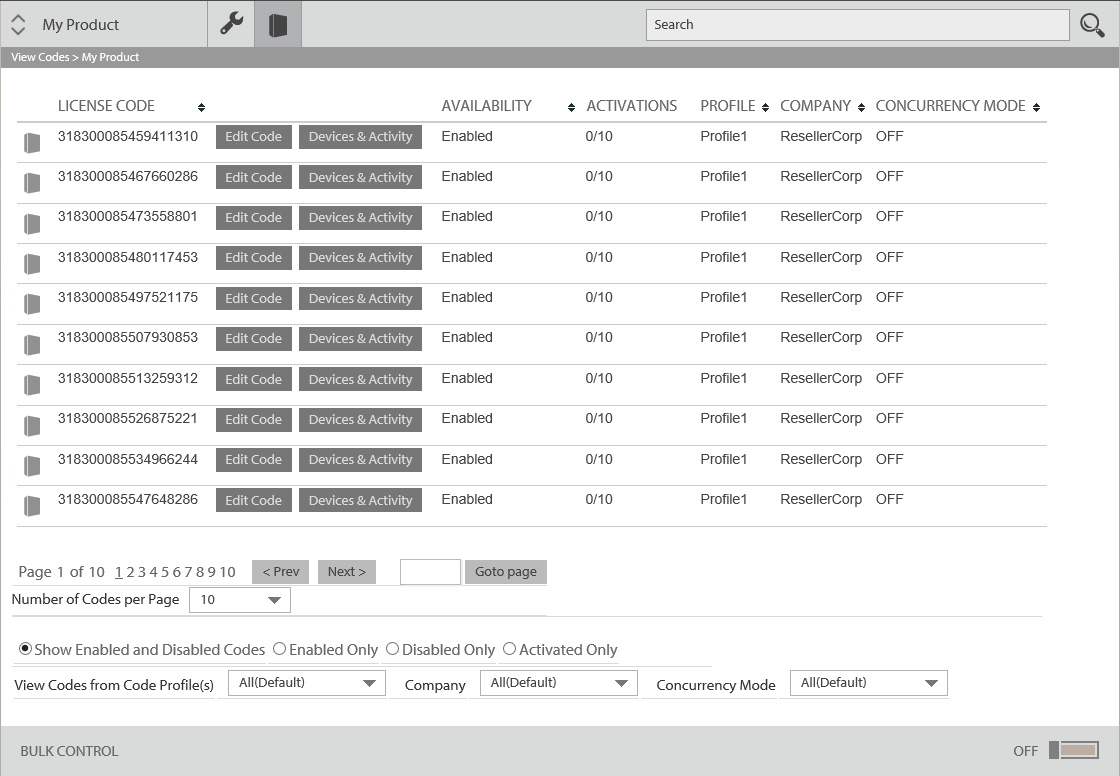
Search
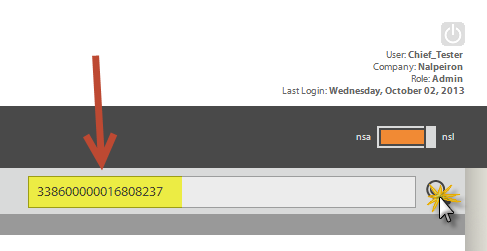
- Paste into the bar a code from your database or a client and click the "search" icon on the right (Magnifying glass).
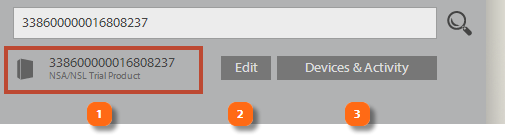
The resultant search should find your code if it's in your "bank" of codes.
The search will offer you the following options:
- The matching code
- A button to edit the entitlements on the code
- A button to review all the devices attached to the code plus activity history and the analytics for the license
Additional Search options:
Search is very powerful and can also display other useful results about your Users too, if you have collected it, such as:
- Computer ID (DeviceID)
- End User – First Name
- End User – Last Name
- End User – Email
- End User – Company
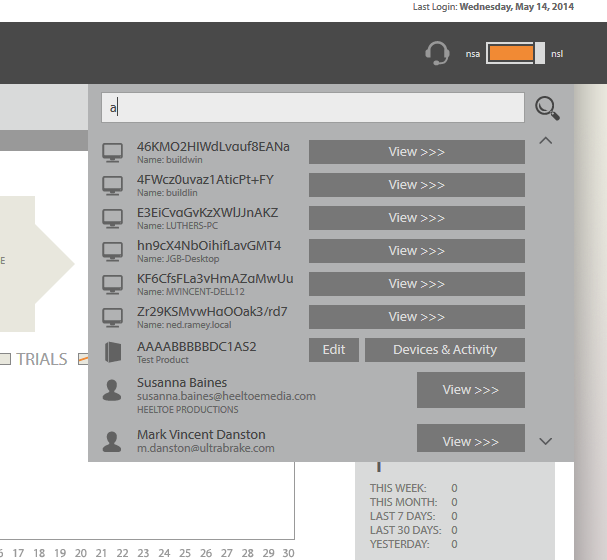
Search by Computer ID (DeviceID)
This is a very powerful feature to understand, support and manage your user's devices, all of which we identify through ComputerIDs. The user can give such an ID as generated by our API on the client, and you can then easily search Zentitle for more data about that device.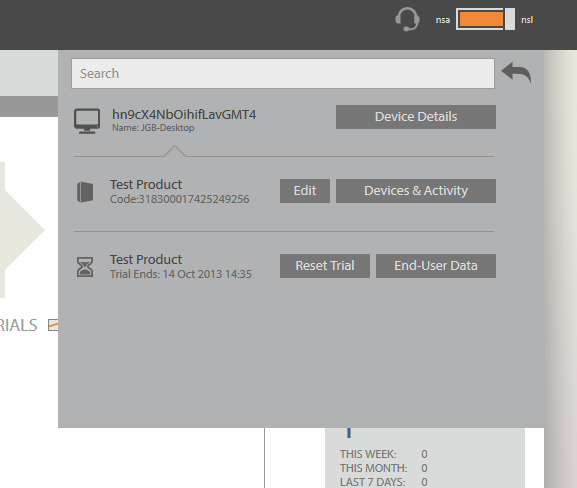
On searching, you see any associated License Codes (each one shows you the Code Number and the associated Product). You can then Edit the Code, or view ‘Devices & Activity’ (which is helpful as you can then see which other Computer IDs might be attached to this Code, or have been on this Code).
You might notice there is no End-User data button next to the License Codes, this is because there might be many Users attached to a single Code. It is important to bare in mind that just because you have found a Computer ID and can see license codes, these codes could be shared by many different devices (and ‘people’).
Search by User
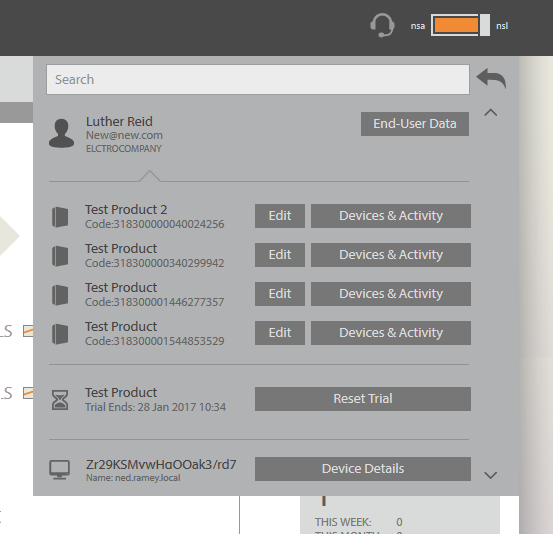
Obviously, you can't use this option unless you have set up a process to attach your user data to the licensing and imported the data, or had it added during a registration process.
On this search result, the End-User is listed at the top and there is an End-User Data button next to him/her.
The same real-world person would appear as several unique results if she has registered the same details on different devices.
So, on this view, you also see the License Codes belonging to associated Computer IDs (DeviceID) for this End-User.
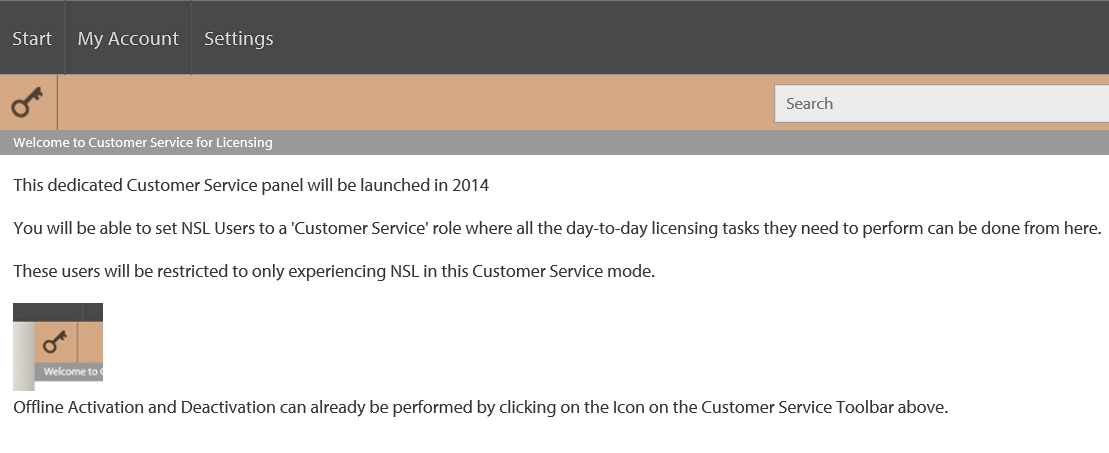
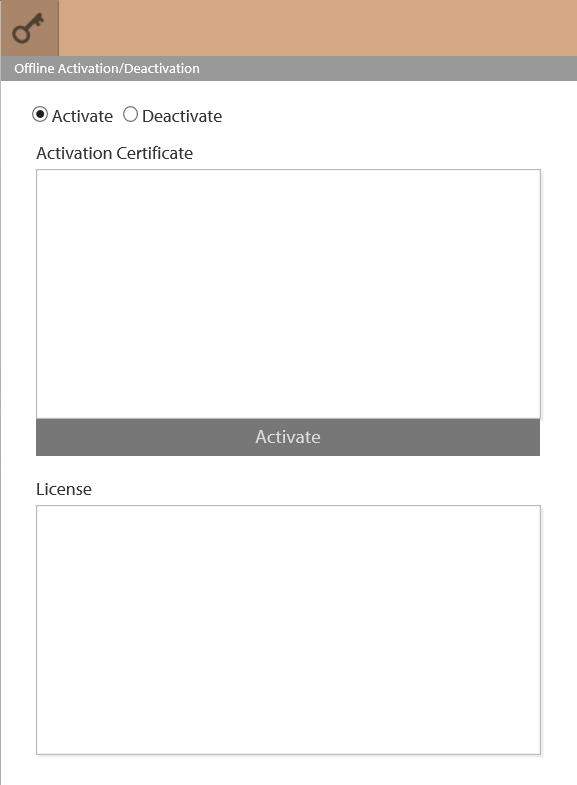
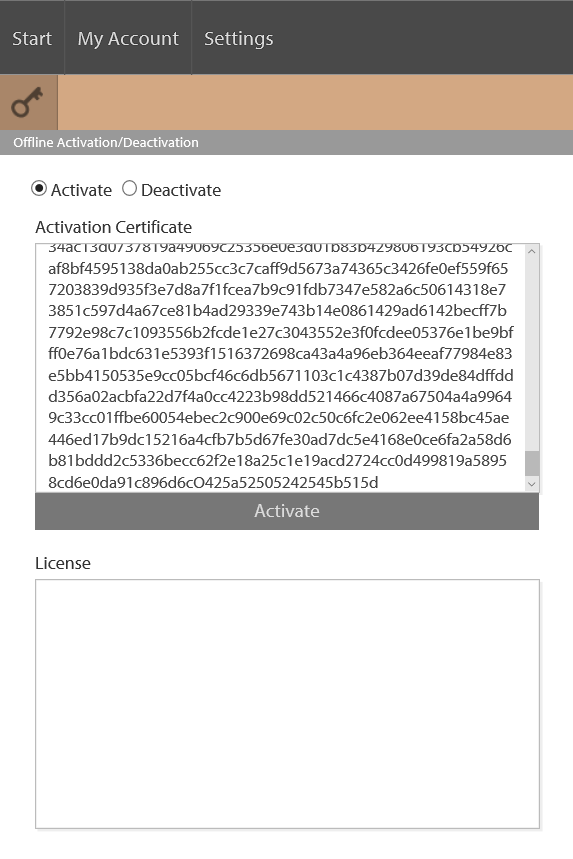
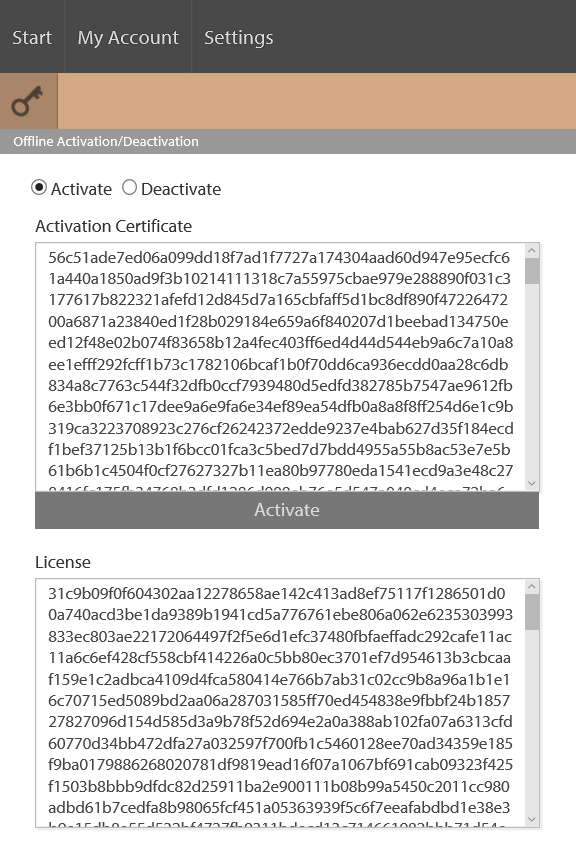
Offline Activation/Deactivation