Introduction
This article outlines the way you can securely link out from your user's site to the Zentitle Licensing Cloud. Relaying from a DMZ within a user network to the Zentitle Licensing Cloud) without having to install our LAN Daemon, which acts as an on-premise licensing server, inside your customer's local network.
Whoever is installing the server must be familiar with adding a virtual machine to a DMZ.
This is fast, easy to install and will simply relay end-user login access calls directly to the Zentitle Servers outside the network and relay back any of the required access control information in order that the correct number of users can access the protected Software.
Pointing the Library to the Relay
To use the relay server you must point the client library to the server rather than to Zentitle's server. This may be done by passing the and tags into the NalpLibOpen startup routine. In the XML string, you pass to NalpLibOpen, you must set the following two tags:
<DaemonIP>IP address of relay server:16700</DaemonIP>
            <DaemonPort>shafer2.asmx</DaemonPort>
OR
<DaemonIP>IP address of relay server:16701</DaemonIP> <DaemonPort>shafer2.asmx</DaemonPort>
Where IP address of relay server is the local IP address of the relay server. 16700 is the port number on which the relay server listens (16700 is the default) for HTTP traffic and 16701 is the port for https. The string "shafer2.asmx" must remain unchanged.
Relay Server Access and Setup Details
The Relay Server is a virtual machine (VM) created from a stripped down version of CentOS 6.5 designed to port forward from your network to the Zentitle server. The VM has most services disabled.
Setting up the Relay Server
An image of the Relay Server's hard drive is provided in a format suitable for:
Download the image that corresponds to your virtualization software, unzip it and use it as the hard drive for your virtual machine. The details of this process depend on which virtualization software you are using. During setup, be sure to add at least one Ethernet card.
When this is complete boot the VM.
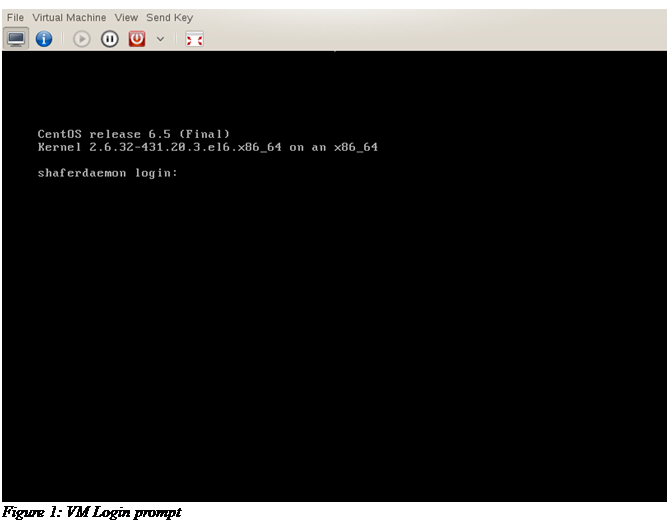
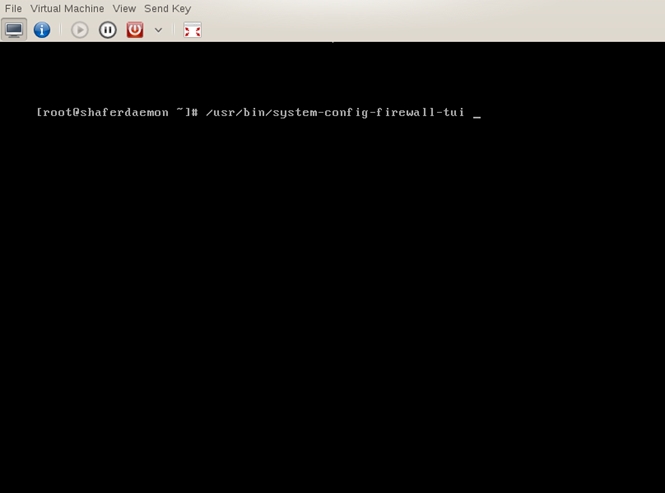
You should see a prompt as in Figure 1. Login with the following credentials:username: root / password: shaferdaemon
For security, you should immediately change the root password.
Do this by typing “passwd” at the command line. Enter the new password twice as prompted.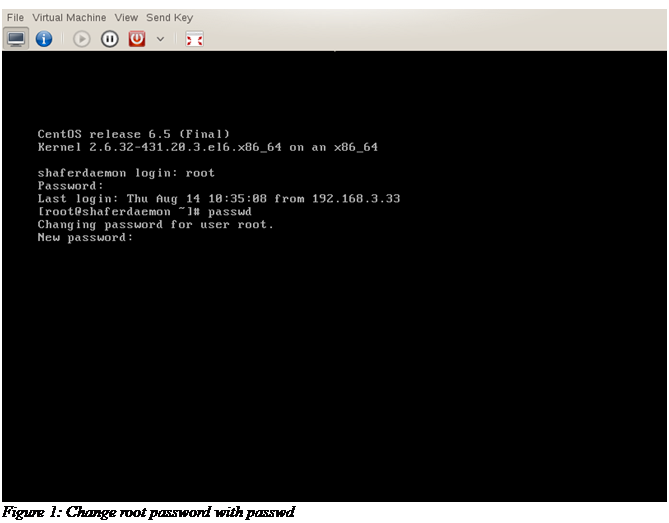
The root password is now changed. Do not lose or forget this password as it will be required to login and administer the virtual machine.
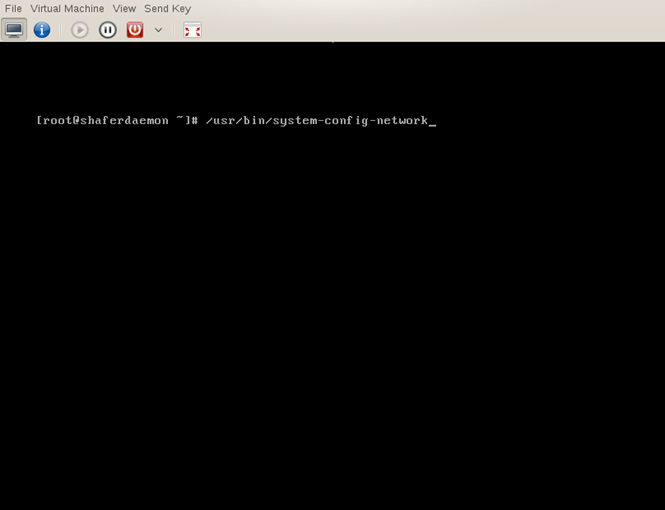
The next step will be to configure your network card.
- Open the network card configuration dialog by typing “/usr/bin/system-config-network” at the command prompt.
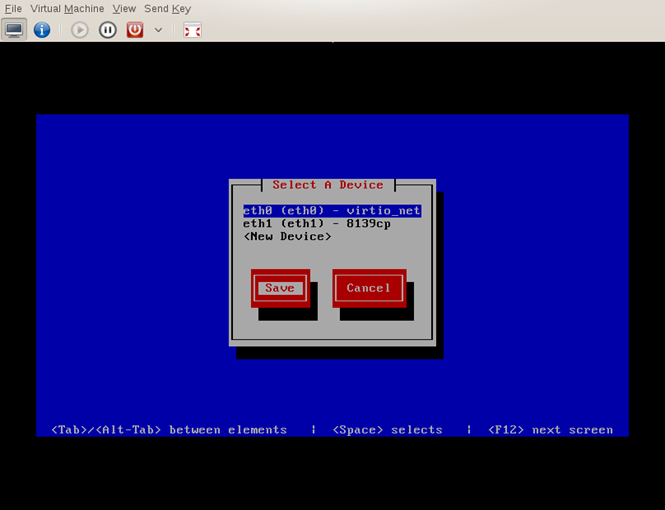
- When the configuration interface opens, select “device configuration”.
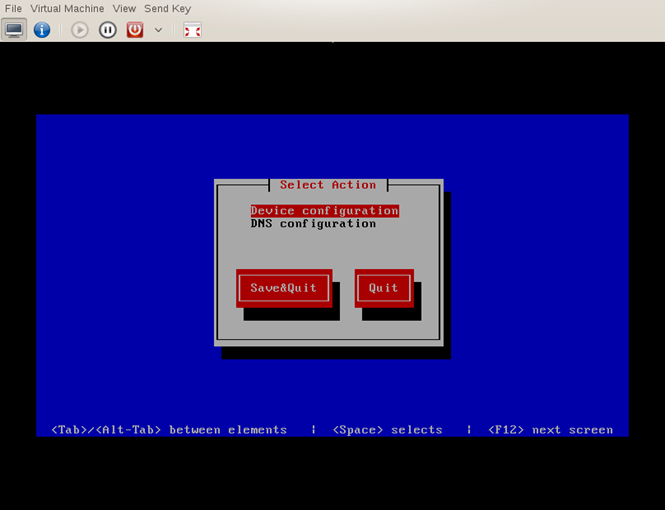
- From the device menu select the Ethernet card you wish to edit. Generally, the first card added will be eth0, the second card eth1, etc.

- If that is acceptable, just tab down to the OK button and continue.
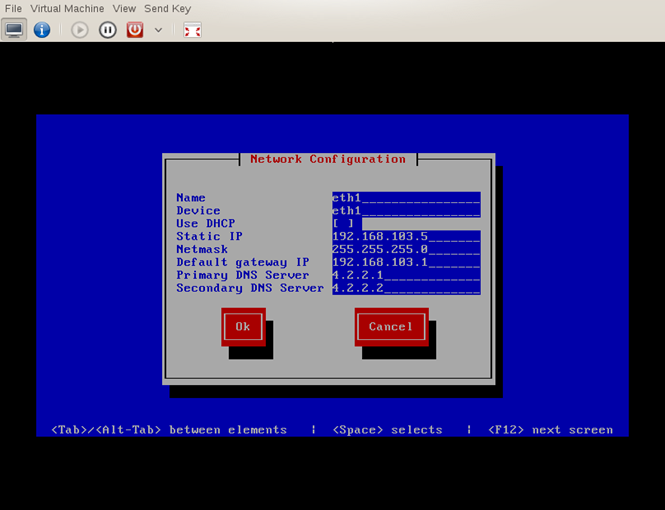
- If you wish to set the card manually, tab down to “Use DHCP” and use the space bar to de-select it. You will now be able to set the VMs IP address, netmask, and gateway. You may set the DNS servers if you wish.
- When you are satisfied with the settings tab to OK and press return.
- When finished configuration all devices, select “Save” and hit return. You will be returned to the command line
Now restart networking services so that your changes will take effect. Use the command “service network restart” to do this. You should see a “Bringing up interface ethn” line for each Ethernet device in your system.

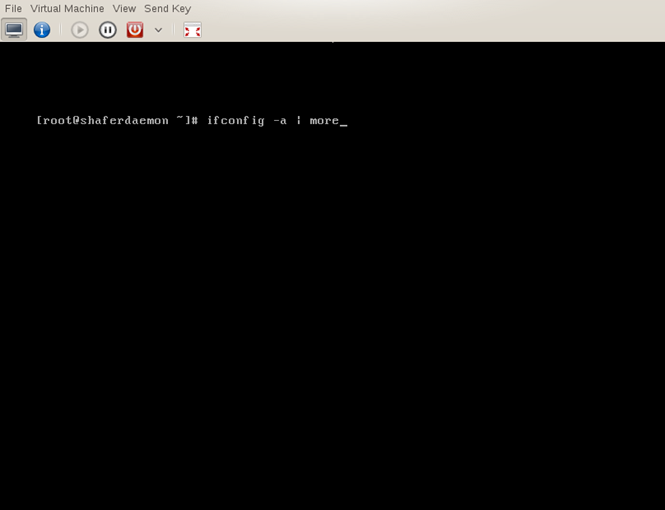
- Check to make sure that your changes were enacted as expected by using the “ifconfig -a” command.
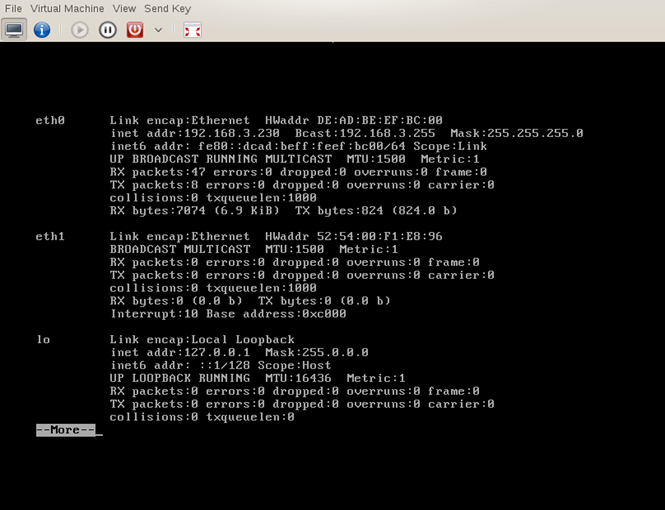
For each Ethernet device present on your vm, you should see networking information. On the second line of the device information, you should see the IP address for the device.
In the following figure, eth0 has an Internet address of 192.168.3.230 but eth1 has no address. In this case, eth1 is not enabled and would be available for networking.
If you are satisfied with the default configuration (one Ethernet card listening on port 16700 for your network and transmitting to Zentitle) then you are finished setting up the Relay Server and can test that it's working correctly.
Changing Ports and additional Configuration
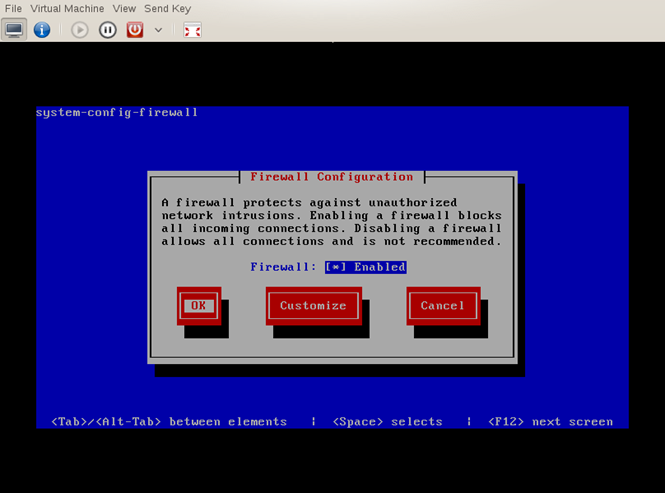
If you'd like to change ports or have one card listen on your network and a second card transmit to Zentitle then continue with these instructions.Start the firewall configuration program by typing “/usr/bin/system-config-firewall-tui” at the command prompt.
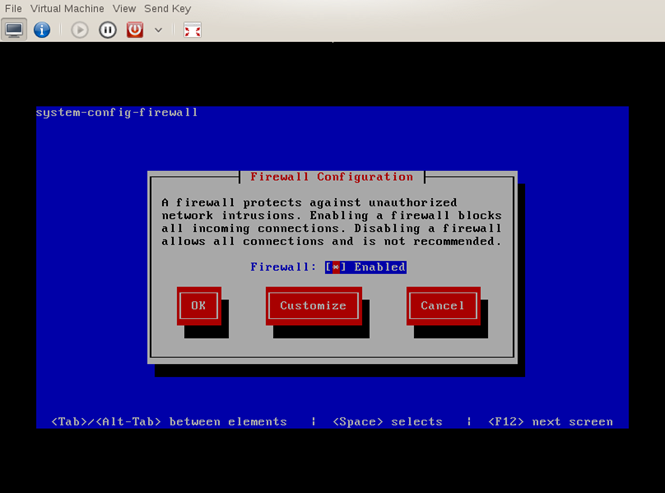
The firewall should be marked as enabled.
- To edit, tab to “Customize” and press return.
The first screen you'll see allows you to mark certain services as trusted. None of these will be marked.
There will be several of these pages where nothing needs to be changed.
- On each page, tab to the “Forward” button and press return.
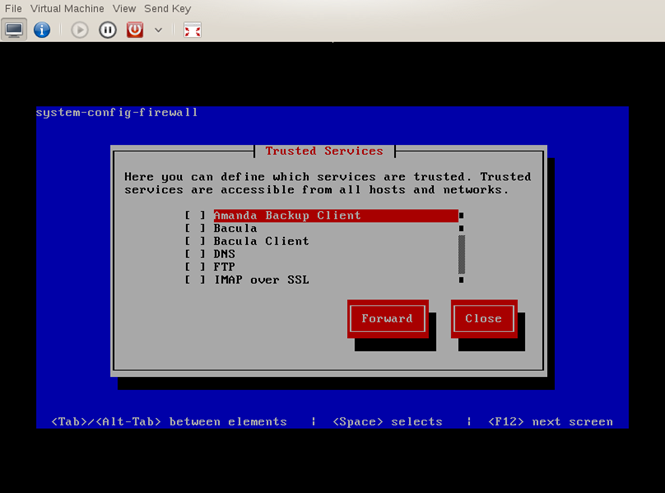
- Stop when you reach the “Other Ports” page.
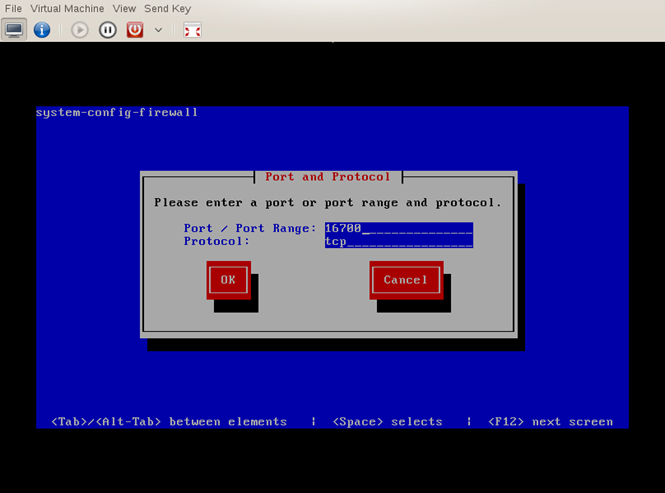
The “Other Ports” page is where we choose a port and protocol for the Network Relay Server to listen on your network.
You may change this if you wish.
- Tab forward to “edit” and press return.
- Tab forward to the “Port” entry and backspace over 16700 then type the port you would prefer.
- When you are finished, tab to “OK” and press return.
If you change this port, you need to change the port that is forwarded later in this document.
Once, you've changed the port and pressed “OK” you will return to the main pages.
- Tab to the “Forward” button and press return. The next change we will make is on the “Port Forwarding” page.
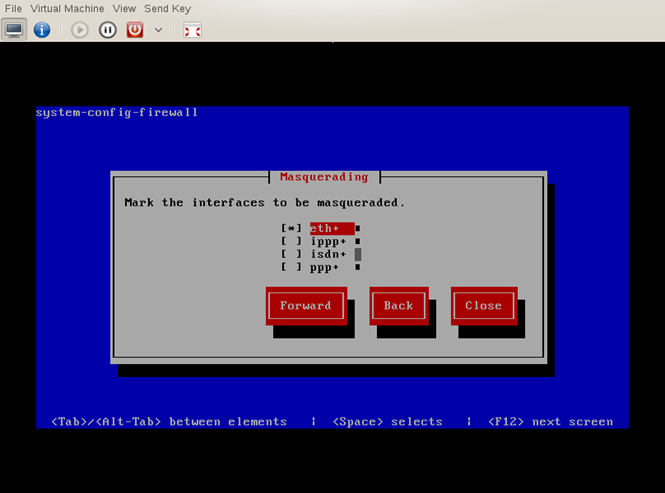
As you as passing through configuration pages, you might notice the “Masquerading” page. It should have“eth+” enabled as shown below.
If you changed the listening port from 16700 or wish to change the transmitting Ethernet card, you'll make these changes on the “Port Forwarding” page.
- Tab to the “edit” button and press return.
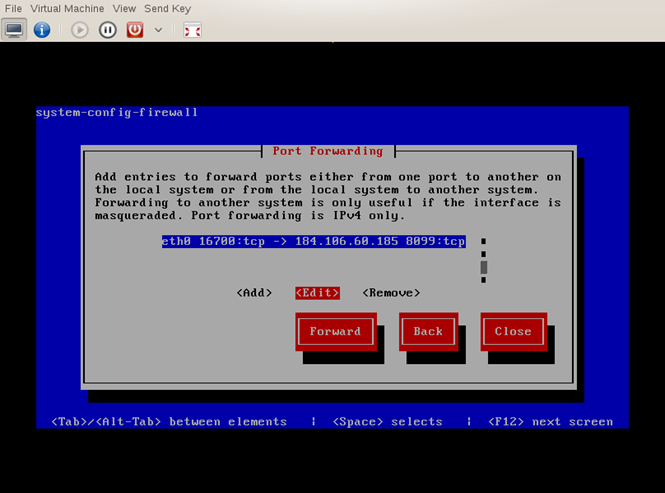
By default, the port forwarding listens on eth0 port 16700 (and/or port 16701 for https).
- You may change either or both of the values.
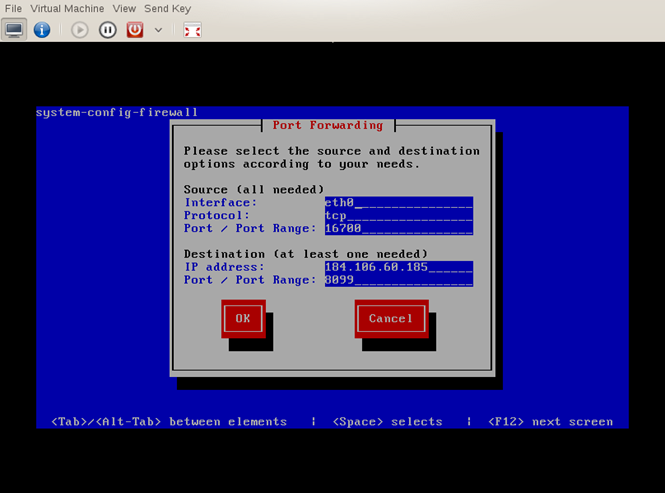
- When finished tab to “OK” and press return.
- Tab to the “Close” button and press return.
You've now finished making changes. You'll be taken back to the initial firewall configuration page. 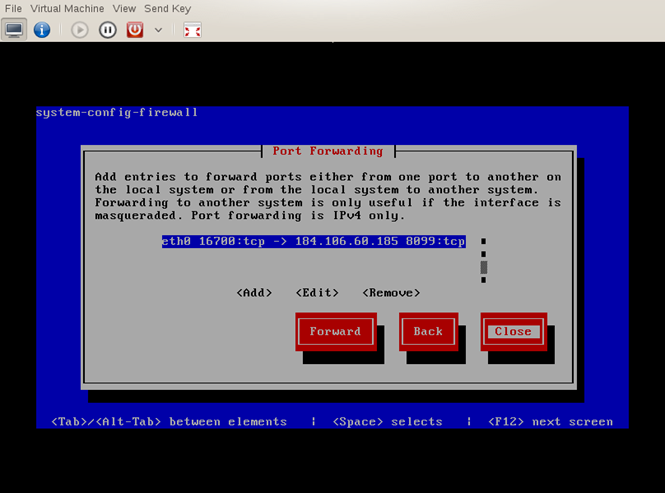
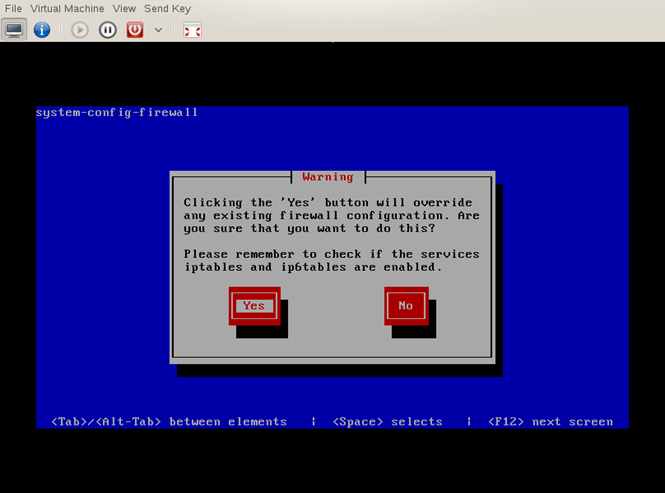
- On the initial page, tab to “OK” and press return.
You'll next be asked if you really want to make the change.
- Tab to “YES” and press return for the changes to take place.
- You've finished configuring the Network Relay Server and can now test the setup to ensure it's working correctly.