Introduction
Zentitle licensing enables management of program features within your application. For our purposes, a feature may be considered to be any functionality that you may wish to activate/deactivate in a license code dependent manner. You can control which features are activated on which license codes, on a fine-grained level or in bulk using license code profiles.
Features may be either node-locked or floating. A node-locked feature is associated with the client computer via its computerID. A floating feature is a feature enabled on your product which is available to any set, up to a specified maximum, of concurrent users of your product with a given license code. This maximum number of feature seats is independent of the maximum number of users of the license code itself. Floating features can be enabled on pre-defined code profiles (and all codes within) or to individual license codes.
Here we describe how to manage features on the Zentitle dashboard and how to include them in your product.
Floating feature functionality requires an active internet connection as feature seats are managed by the Zentitle server.
Adding a Feature to your product
To add a feature to your product, on the Zentitle dashboard, click the wrench icon to setup your product and then select the Configure menu item. On the Configure page, click the Features tab. This will show you a list of the features you have created for your product.
On the left-hand side for each feature, you will see a 'pen' icon. Click this to edit the feature (see below.) There is also an 'Available in Trials' checkbox. Check this if you want your feature to be available in trials. On the right-hand side, for each feature, there is a Licensing Type label. The possible values are 'Normal' (i.e. node-locked) and 'Floating'.
To create a feature, at the top of the features list, there is an Add Feature icon. Clicking this will present you with a pop-up to enter the details of your feature.
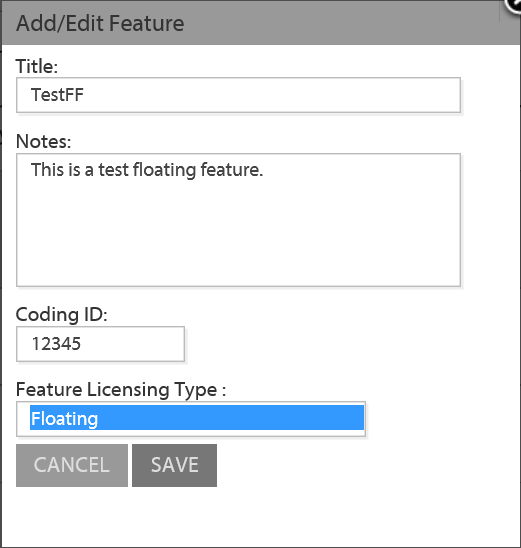
Give the feature a Title (i.e. a name), some notes about your feature, a coding ID (an alphanumeric string no greater than 5 characters long) and select the Feature Licensing Type, Normal or Floating Save your feature. Your feature will now appear in the feature list.
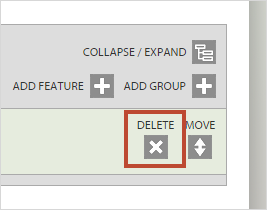
If you make an error or you wish to make a change you can easily delete a feature with the delete button.
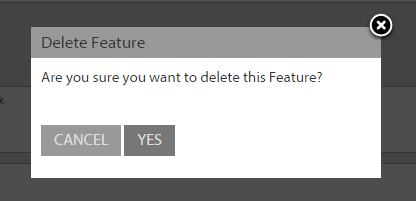
If you click delete you will need to confirm the deletion.
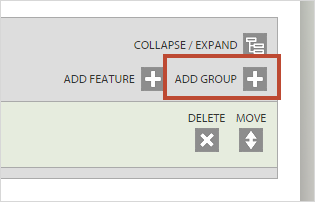
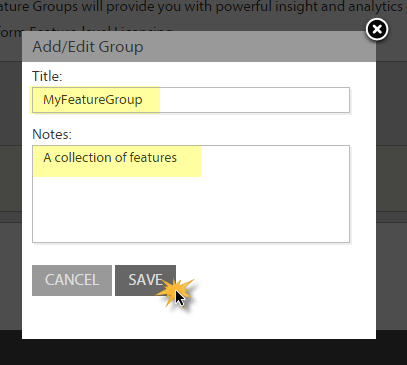
If you want to organize a number of features together for easy reporting then you can create a feature group. Adding a feature group is as easy as adding a feature, just click the top right button "add group".
Name the group and add any notes. Click save.
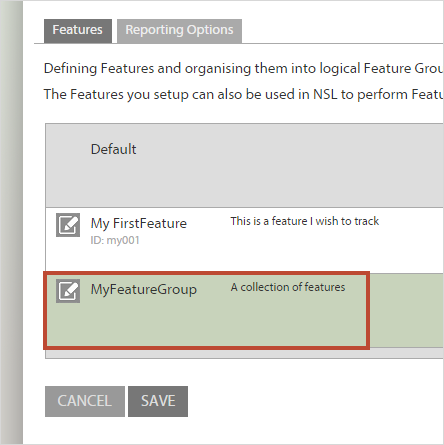
You will now see a new group with a green bar.
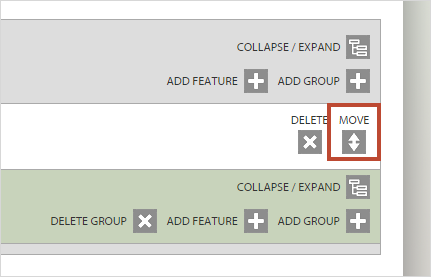
Now you need to move your features into groups. Simply click the "move" button in the top right corner of the feature you want to put into a group.
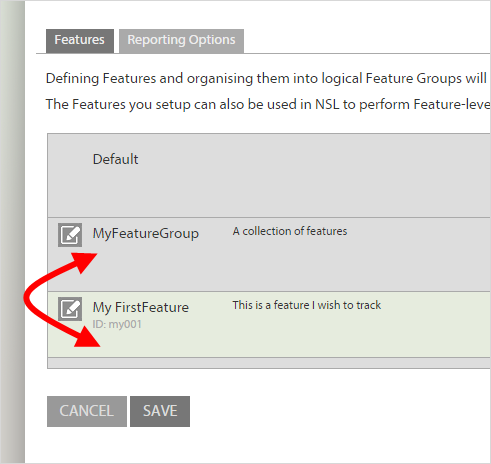
Choose the group to move this feature into from the drop-down dialog. Click. save.

You will now see your feature under the new group you have set up.
Adding a feature to a code profile
On the Zentitle dashboard, if you click the wrench icon followed by the Code Profiles menu item, you will see a list of the code profiles you have defined and are given the option to ‘Create a new Profile’. You can enable the feature you have created on one of your profiles by clicking the Edit button for that profile. This will take you to the Edit Profile page. If you click the Features tab on this page, and then expand the Default feature tree, you will see the default feature list including your new feature.
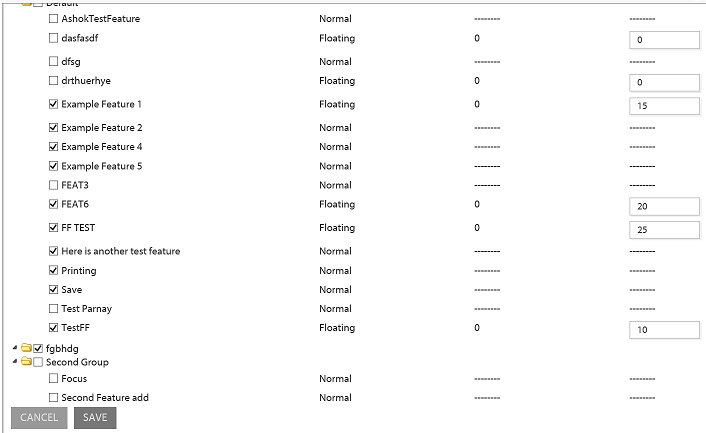
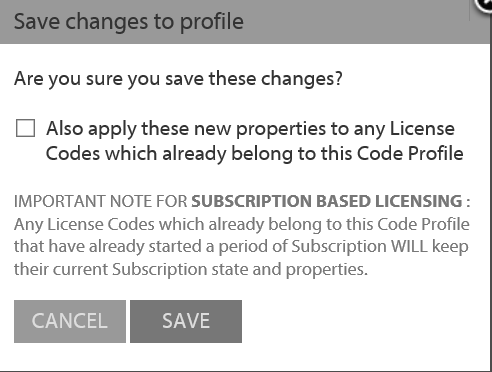
Click the checkbox next to it to enable it for your profile and set the value of Maximum Active (maximum number of concurrent users of this feature.) When you save your changes, you will be presented with a popup option to apply these changes to all license codes currently assigned to this profile.
Adding a feature to a license code
To add a feature to a particular license code, on the Zentitle dashboard, click the 'box' icon to view and manage the license codes for your selected product, or search for a particular code using the search box. Either way, you will be presented with a button to edit the license code of your choice.
On the edit code page, click the Features tab and the default tree to show the list of default features for your chosen product, including your feature. You can enable your feature by clicking the checkbox next to it. For floating features set the value of Maximum Active to the maximum number of concurrent users of your feature.
Using a feature in your application
To use features in your application, you will need to use a Zentitle Client Library (‘filechck’) with minimum version number 2.1.x.
There are five function calls in the filechck pertaining to features, two of which are specific to floating features. These are as follows:
NSLGetFeatureStatus
NSLCheckoutFeature
NSAFeatureStart
NSAFeatureStop
NSLReturnFeature
The function NSLGetFeatureStatus returns the status of the requested feature which can be used in your application to determine whether or not use of the given feature should be permitted. NSLCheckoutFeature/NSLReturnFeature checkout and return a feature seat and as thus only to be used for floating features.
The functions NSAFeatureStart/NSAFeatureEnd manage the activation of the feature with respect to the license code/profile and collect analytics data for the feature usage.
If these five functions are called in turn (with suitable conditionals), the following events occur:
- Determination of whether or not the use of the feature is allowed.
- If so, and if it is a floating feature, a seat is checked out.
- The feature is started. Calls to code implementing the feature functionality should be made after this call and before the next.
- The feature is stopped.
- If floating, the feature seat is returned to the server and is ready for a subsequent checkout.
This pattern serves as a guide for how to implement a feature in your application. We shall now look at the API calls for these functions.
NSLGetFeatureStatus
The API call for this function is
ReturnValue = NSLGetFeatureStatus(UTFFeatureName, ref FeatureStatus)
with parameters defined as follows:
|
Parameter |
Type |
Meaning |
|
UTFFeatureName |
UTF8 encoded byte array |
Feature Code |
|
FeatureStatus |
int |
Returned feature status code. |
|
ReturnValue |
int |
Error message |
The returned feature status code will return the value 1 if the use of the feature is possible/permitted. The full set of status values is as follows:
|
Feature status code |
Meaning |
|
1 |
Checkout authorized |
|
0 |
Unset |
|
-1 |
Error |
|
-2 |
Unknown feature |
|
-3 |
Request denied (no seats avail.) |
|
-4 |
Feature not authorized |
|
-5 |
License expired |
To process the ReturnValue, it must, after the function call, be decremented by the security offset parameter (see client applications documentation), i.e.
ReturnValue -= (int)SecurityOffset;
This ReturnValue, on success, will have the value 0. Other values are error codes. The meaning of such a code can be obtained from a call to NalpGetErrorMsg (see client library documentation) This also applies to the other four functions discussed here.
NSLCheckoutFeature
The API call for this function is
ReturnValue = NSLCheckoutFeature(UTFFeatureName, ref FeatureStatus, UTFLicenseCode)
with the additional parameter defined as follows:
|
Parameter |
Type |
Meaning |
|
UTFLicenseCode |
UTF8 encoded byte array |
License code. |
The function NSLCheckoutFeature is used to check out a floating feature seat for a given license code. A successful call to this function will decrement the number of available seats by 1. The Feature Code is that specified in the feature definition. The returned feature status code will return the value 1 if the checkout has been successful
NSLReturnFeature
The API call for this function is
ReturnValue = NSLReturnFeature(UTFFeatureName, UTFLicenseCode)
This function is used to check in a floating feature seat, with the parameters defined as above. The ReturnValue (minus the security offset) provides error information for values other than 0. When 0 is returned, the check-in has been successful. Again, a call to NalpGetErrorMsg will provide detailed information in the event of an error.
Floating Features and Concurrent Licenses
NSAFeatureStart
The API call for this function is
ReturnValue = NSAFeatureStart(UTFUserName,UTFFeatureName,UTFNSAClientData,TxnID)
with the additional parameters defined as follows:
|
Parameter |
Type |
Meaning |
|
UTFUserName |
UTF8 encoded byte array |
Name of current user. |
|
UTFNSAClientData |
UTF8 encoded byte array |
Not yet implemented. Set to UTF8 encoded byte array for empty string. |
|
TxnID |
Pointer to UInt32 |
Transaction ID. |
This function is used to start a feature, with the parameters defined as above. The ReturnValue (minus the security offset) provides error information for values other than 0. When 0 is returned, the operation has been successful. Again, a call to NalpGetErrorMsg will provide detailed information in the event of an error. An important parameter here is the transaction ID TxnID. This is used to identify the particular feature run and thereby the calculate, e.g. the duration of the feature run from the call to:
NSAFeatureStop
The API call for this function is
ReturnValue = NSAFeatureStop(UTFUserName,UTFFeatureName,UTFNSAClientData,TxnID)
This function is used to end a feature, with the parameters defined as above. The ReturnValue (minus the security offset) provides error information for values other than 0. When 0 is returned, the operation has been successful. Again, a call to NalpGetErrorMsg will provide detailed information in the event of an error.